CRM Connection
Configuration
Amplify supports CRM integration to Salesforce.
Before getting started, you will need to have the CRM subscription added to your plan. Please contact support / sales to have this added.
Once the subscription is added to your plan, you are ready to get started on the configurations.
To set up the CRM integration, go to Organization settings in the top right menu. Then select the CRM page, which will appear in the sidemenu on the left.
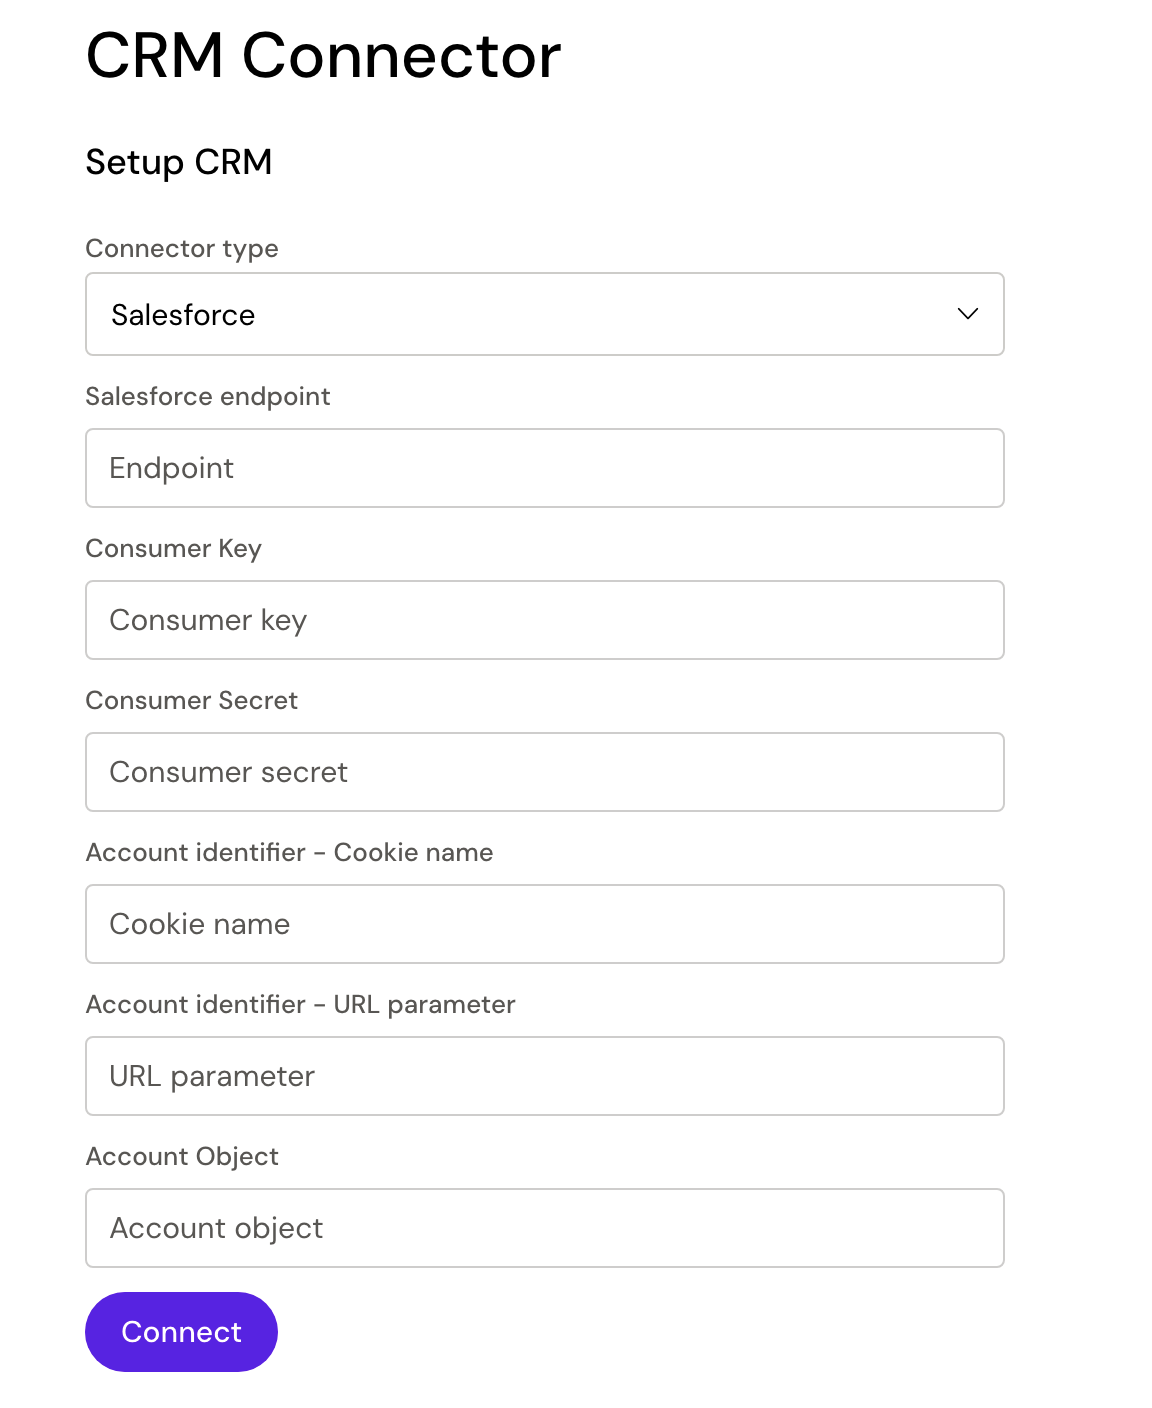
On the CRM page, select a Connector type (currently Amplify only supports Salesforce and Veeva CRM). This selection will reveal the needed fields for the configuration.
Add the Salesforce endpoint, Consumer key and Consumer secret. You can find more information about how to obtain this information on help.salesforce.com.
For Account identifiers, Amplify supports the use of both cookie name and URL parameter.
To enable custom identifier keys (by default Amplify will use the Id), the Account Identifier Key have been added. This can be populated with any key on the Account Object.
To fetch the correct fields from your CRM, please define the Account Object, which you want the information to come from.
Click connect to save the configuration and see the settings section appear below.
![]() The CRM setup does not validate that the fields are correctly filled. We suggest that you check that you are seeing the correct fields in the ‘Configure fields’ dropdown and use a url parameter on an amp domain to test that you are seeing an output. Learn more in the ‘Testing’ section below.
The CRM setup does not validate that the fields are correctly filled. We suggest that you check that you are seeing the correct fields in the ‘Configure fields’ dropdown and use a url parameter on an amp domain to test that you are seeing an output. Learn more in the ‘Testing’ section below.
Settings
Amplify supports both reading and writing back to fields from the CRM.
For a better overview and easier use for the editors in the builder, you have to define the needed CRM fields in your CRM settings.
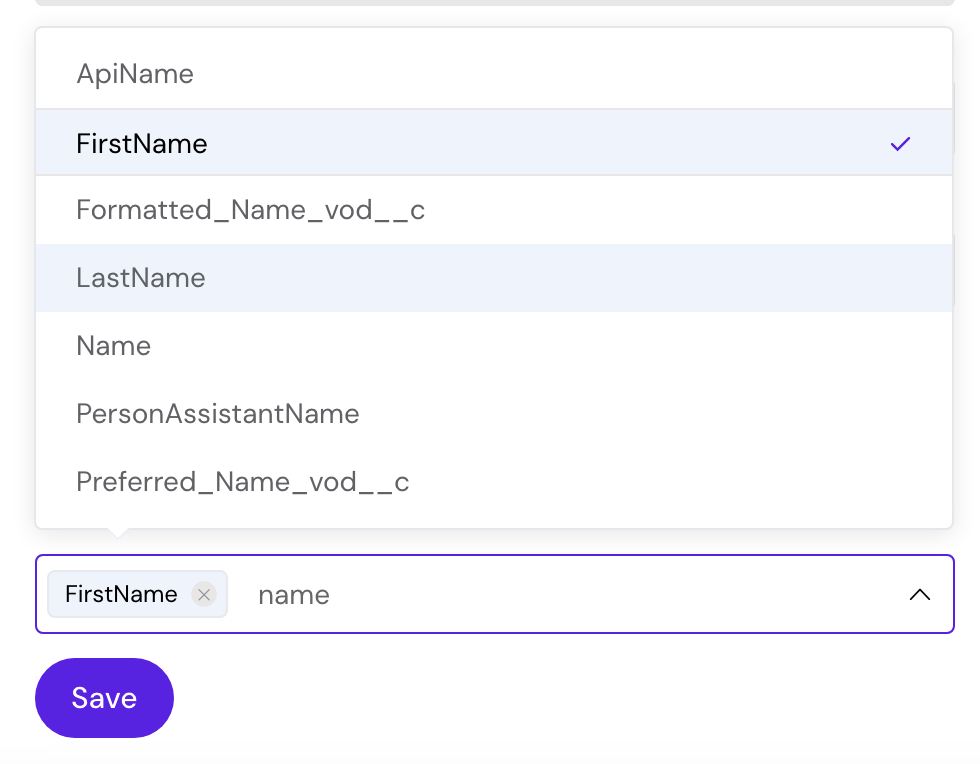
In the ‘Configure fields’ dropdown, you can see all available fields within the defined Account object. Select multiple fields within the list or type the name of the field you are looking for to filter down the list of options.
Select all needed fields and click save. The list can be modified at any time to add or remove fields.
CRM Values
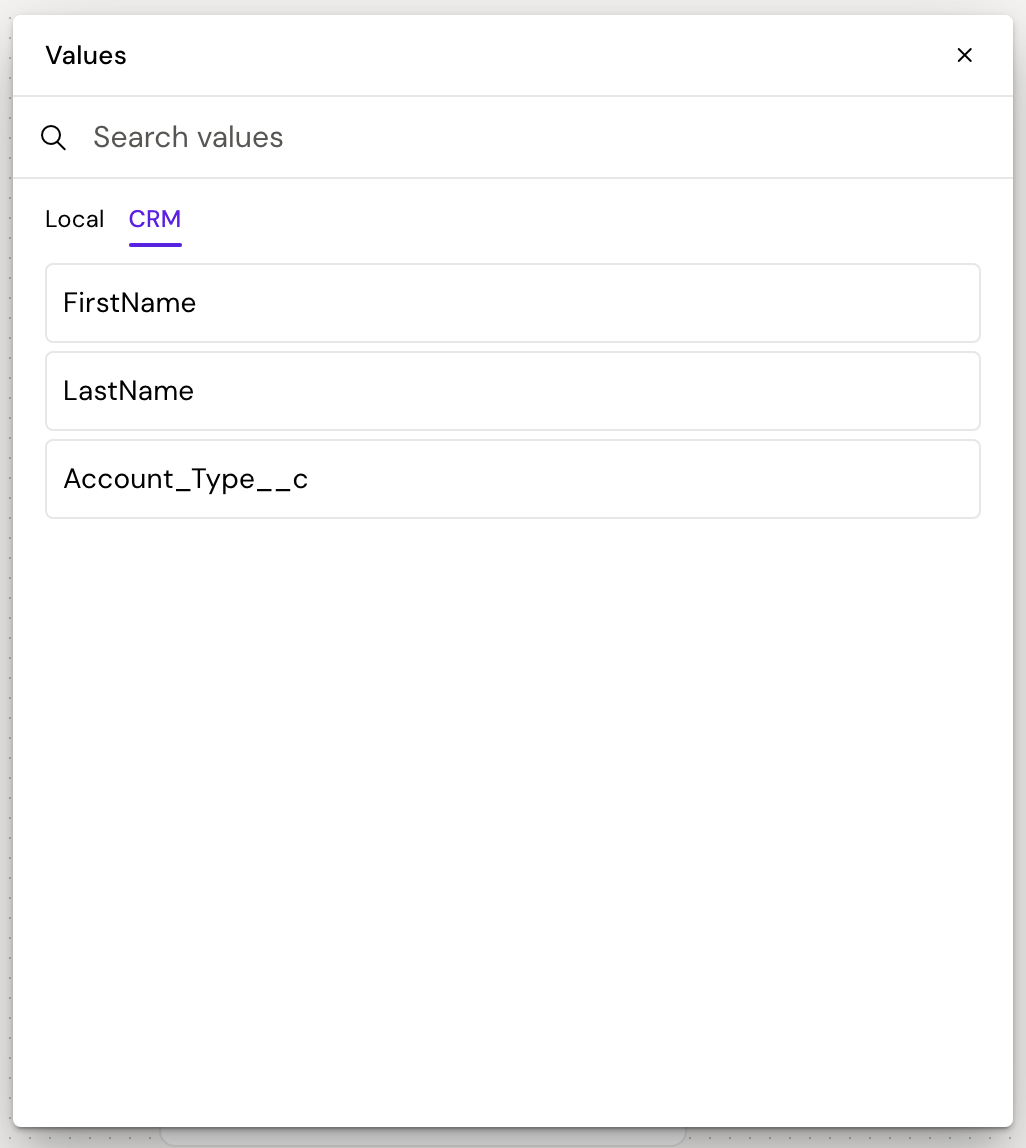
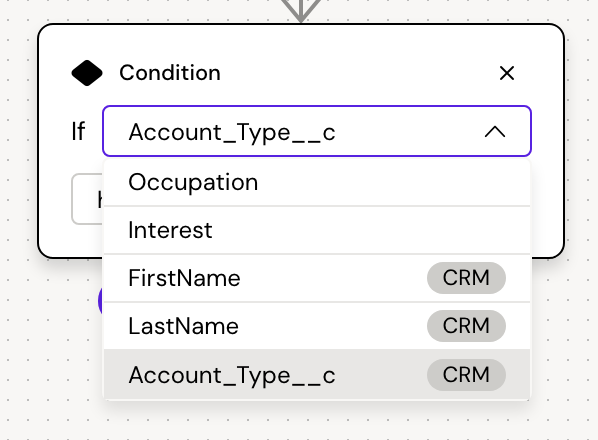
Once the CRM connector has been configured, the selected fields will be available for use in the builder.
They can be seen in the Storage values overlay under the CRM tab, but cannot be changed inside the builder.
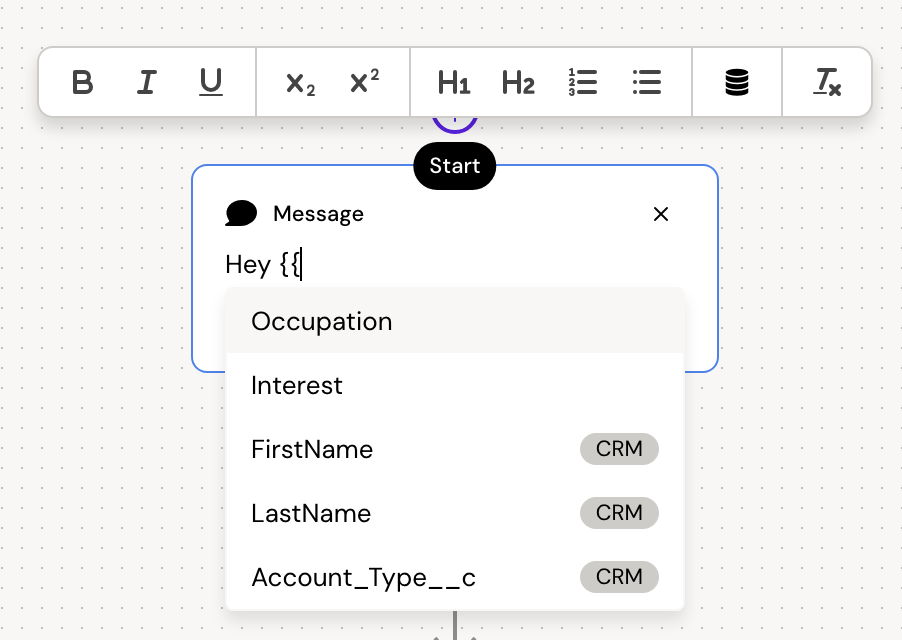
They are used in the exact same way as other storage values, and can be added to message nodes or used in conditions.
Testing the CRM connection
Define a url parameter in the CRM setup (you will need this key in a second). If you have also set an Account Identifier Key, make sure that this key matches a key on the Account Object.
Build an amp where you e.g add the {{FirstName}} key to a message node. Publish the amp to a domain.
Find a valid user in your CRM to test with and copy their Id or their information for the Account Identifier Key you have defined.
Add your information as /?urlparam=userKey after the domain url and run the amp. E.g if url parameter is ‘user’ and Account Identifier Key is ‘phone’, it could look like this ampdomain.com/?user=12345678
This should render the users first name in the message node on the amp.
